

Guide: Write & Get Paid to Publish on Codiga (Step-by-step for beginners)
This guide helps you plan, write, and pitch technical articles to Codiga so you can earn money, build your writing portfolio, and reach developer teams. The instructions are compact, hands-on, and designed for someone who can build small demos or explain workflows clearly.
Key actions in this guide: pick a Codiga-friendly topic, prepare a demo or snippet, create sample articles, use the Codiga “Write for Us” submission process, and optimize your article for readers and search. Codiga accepts technical posts about code quality, static analysis, coding assistants, snippets, DevOps, and developer productivity. :contentReference[oaicite:0]{index=0}
Section 1 · What is Codiga
Codiga — quick product & audience snapshot
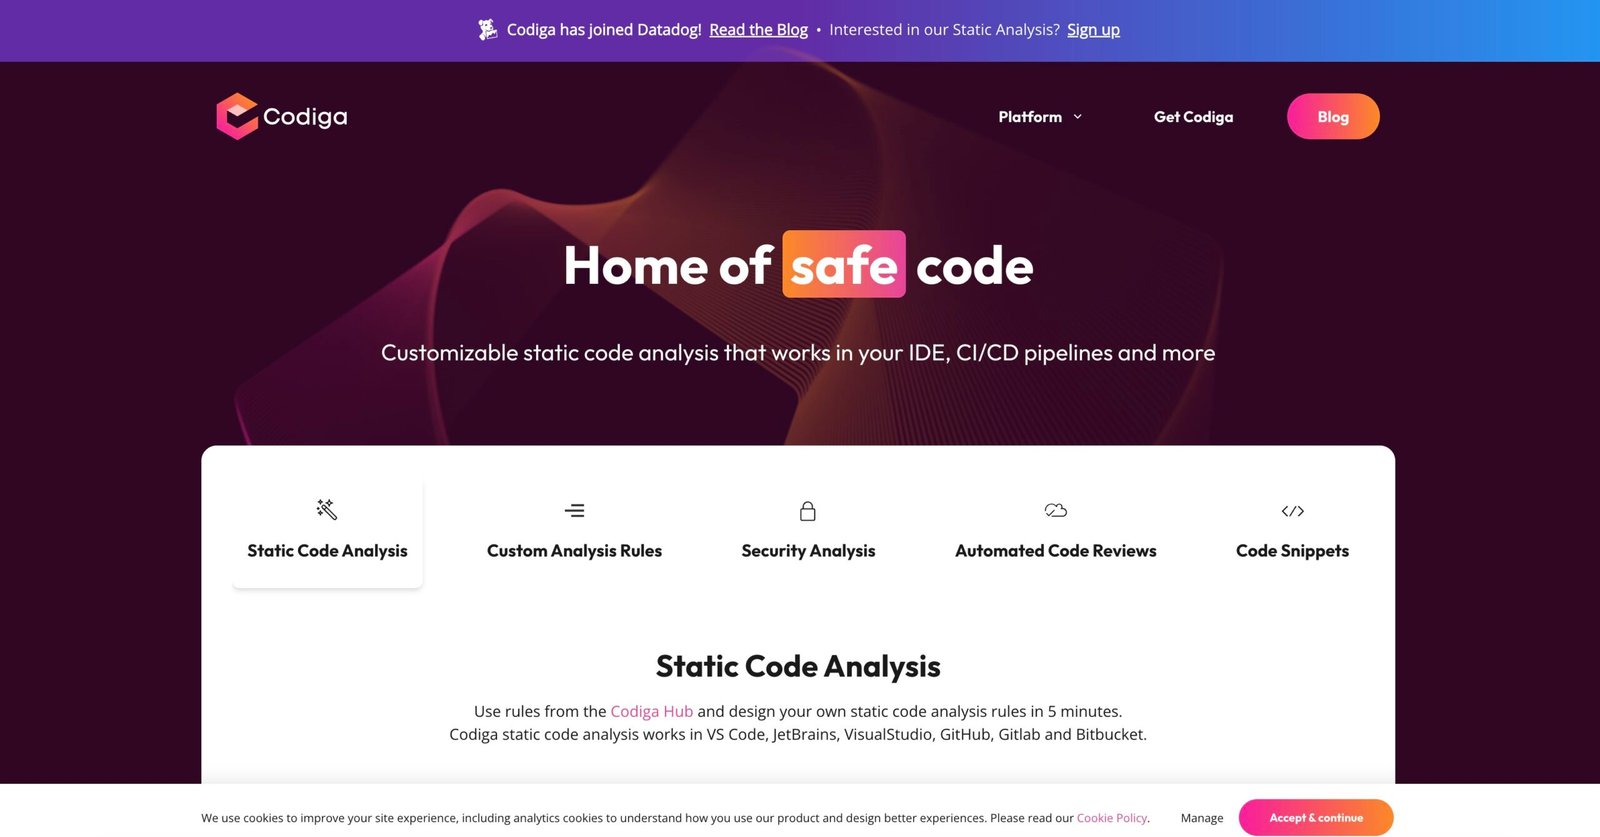
Codiga is a developer-focused platform that provides static code analysis, automated code reviews, and a coding assistant/snippet manager for teams and individuals. It integrates with popular IDEs (VS Code, JetBrains), code hosts (GitHub, GitLab, Bitbucket), and CI systems so developers get feedback in their normal workflow. :contentReference[oaicite:1]{index=1}
Who reads Codiga’s blog and documentation?
- Engineers curious about improving code quality and catching bugs early.
- Engineering managers who want reliable automated reviews and metrics.
- DevOps and CI maintainers who want fast, actionable checks in pipelines.
Common topics you’ll find on the Codiga blog:
- Static analysis patterns, OWASP/CWE guidance, SAST use-cases. :contentReference[oaicite:2]{index=2}
- How to use code snippets and coding assistants inside editors or teams. :contentReference[oaicite:3]{index=3}
- Case studies on improving code reviews, onboarding, and developer productivity. :contentReference[oaicite:4]{index=4}
- Reach an audience of engineers and engineering leads actively looking for code-quality solutions.
- Get paid per article (Codiga lists payment ranges on their contributor page — useful for planning). :contentReference[oaicite:5]{index=5}
- Gain a byline on a technical product blog and link back to your portfolio or GitHub projects.
Section 2 · What Codiga wants from contributors
Match your idea to Codiga’s audience and product
Before you write, remember: Codiga prefers articles that are technical, reproducible, and actionable. That means:
- Show code or configuration that readers can copy and run (snippets, GitHub repos, or CodeSandbox/CodePen examples).
- Focus on problems that affect real projects: security patterns, lint rules, snippet libraries, CI setup, automating code reviews, and practical integrations.
- Write for working developers who want to implement a solution — not just high-level marketing copy.
If your article is a guide to a tool or a workflow (for example, “Add Codiga automated reviews to GitHub Actions”), include an explicit setup section, expected outputs, and troubleshooting notes.
Section 3 · Choose a Codiga-shaped idea
Examples of strong article angles
Here are Codiga-shaped article ideas you can adapt. Each idea lists the minimum elements Codiga editors like to see.
Integrating Codiga with GitHub Actions for automated PR checks
Include: a step-by-step GitHub Actions workflow, example outputs on a demo repo, and a brief note about rule severity tuning.
Build a custom static analysis rule (Codiga Hub) and test it
Include: the rule source, explanation of AST/target patterns, how to test locally and in CI, and the repo with tests.
Use Codiga Coding Assistant to speed front-end component re-use
Include: step-by-step VS Code screenshots, how to create and import snippets, and a before/after time-saved estimate.
Comparing static analysis tools: Codiga vs alternatives (practical migration plan)
Include: tests on a small repo, rule configuration examples, and a migration checklist (what to turn on first, how to fix legacy alerts).
Section 4 · Build samples & demos
How to create the minimal demo that makes an editor say “yes”
Editors want evidence you can finish a technical article. For Codiga, “evidence” usually means:
- One working demo repo — with readme, steps, and a small sample run (GitHub is fine). :contentReference[oaicite:6]{index=6}
- At least one published sample — publish a tutorial on Dev.to, Hashnode, or your personal blog. Link to it in your Codiga submission. (Codiga’s write-for-us page mentions acceptable publication outlets.) :contentReference[oaicite:7]{index=7}
- Screenshots or recorded GIFs showing the before and after of your workflow or test output.
Where to publish samples (fast)
- Dev.to — quick, developer audience
- Hashnode — developer-friendly, easy to connect to GitHub
- Medium — good reach (consider publication fees)
- Your personal blog backed by a GitHub Pages / Netlify site
Minimum demo checklist
- Repository with README and one runnable example.
- Commands to reproduce the Codiga analysis output (e.g. CLI or GitHub App run).
- Screenshots, and short explanation of why results matter.
- One link to a published short tutorial (≥800–1200 words) showing your writing and formatting.
Section 5 · How to submit (Codiga “Write for Us”)
Using Codiga’s contributor process — the pragmatic steps
Codiga publishes contributor instructions on their Write for Us page. They accept submissions from personal blogs, Dev.to, Medium, and relevant news sites — and they list a typical pay range. The rest of this section turns that page into a short SOP. :contentReference[oaicite:8]{index=8}
Read the “Write for Us” page carefully
Open Codiga’s contributor page and copy the exact submission link or contact form. Note any required fields (bio, links, idea bullets, publication link).
Prepare 1–3 topic pitches
For each pitch include: a short headline, 2–3 sentences describing the angle, and a bulleted outline with 4–6 sections. Example outline for “Integrate Codiga with GitHub Actions” should include prerequisites, steps, sample workflow, expected output screenshots, and troubleshooting.
Attach your best writing sample and demo link
Link to one published article (Dev.to/Hashnode/your blog) and the GitHub demo repo. Editors value a working demo and one finished, polished sample.
Fill the form and send a friendly pitch note
Write a concise, polite cover note that says what you’ll deliver and why it helps Codiga readers (e.g. “This shows engineering teams how to run Codiga checks on every PR to reduce security findings early”).
Section 6 · Money, licensing & publication rules
What to expect about payment, rights, and reposting
Codiga’s contributor page includes payment details and publication expectations. Pay varies by article length and topic — use that number when deciding how many hours you can invest. Always clarify usage rights before you sign or accept: some companies ask for first publication rights for a short period, others want non-exclusive rights. :contentReference[oaicite:10]{index=10}
Practical checklist about money & rights
- Ask: Is the fee flat for the piece or per word? How many rounds of edits are included?
- Agree on licensing: non-exclusive is common for blogs; exclusive rights may pay more but limit re-posting.
- Ask about promotion: will Codiga share the article on their newsletter, Twitter, or product docs?
- Keep invoices and store email agreements for payment terms.
If you plan to re-post the piece on your own blog, ask the editor about their policy and whether they expect an exclusivity window. Most tech blogs are flexible, but policies vary.
Section 7 · Ethics, AI & testing
Be accurate, test everything, and use AI responsibly
Editors expect factual, reproducible instructions. For technical posts this means:
- Run every command you publish and include exact outputs or screenshots so editors and readers can verify quickly.
- Don’t claim benchmarks or time-savings unless you measured them and can show the process and data.
- If you used AI for drafting, clearly edit and verify all outputs; do not submit AI-only text or unvalidated code. Treat AI as a drafting assistant, not an author.
When publishing examples that use real services or tokens, scrub secrets. Use fake/test tokens and show how to rotate credentials if anyone accidentally leaks them. Never publish private customer data.
Section 8 · Templates, checklists & pitch examples
Concrete copy you can reuse
Subject: Pitch — "Integrate Codiga static checks into GitHub Actions"

Hi Codiga team,

I’m [Your Name], a developer who builds CI + code-quality workflows. I’d like to propose an article:
"Integrate Codiga static checks into GitHub Actions" — a step-by-step guide for engineering teams.

Why this helps: it shows teams how to run Codiga checks on every PR, reduce noise with tuned rules, and fix common security findings early.

Outline:
- Intro: why run checks in CI (problem statement)
- Prereqs: GitHub repo, Codiga app/CLI, example repo link
- Step-by-step: install, configure, sample workflow
- Demo: example run and output screenshots (link to repo)
- Troubleshooting & tips (tuning rules)

Links:
- Sample article: https://dev.to/your/sample-post
- Demo repo: https://github.com/you/codiga-demo

Happy to deliver 1500–2500 words with screenshots and tested code. What do you think?

Thanks,
[Your Name] — GitHub: @yourhandle — Email: you@example.com
- Read Codiga’s Write for Us page and match their guidelines. :contentReference[oaicite:11]{index=11}
- Publish one full sample externally (Dev.to, Hashnode, or your blog).
- Prepare a demo repository with a clear README and sample outputs.
- Ensure screenshots are clear and code is formatted (use code blocks and short paragraphs).
- Have a short author bio ready (one line: job + examples + GitHub link).
Section 9 · FAQ & Resources
Quick answers and a big resource list
- Codiga homepage — product & overview. :contentReference[oaicite:12]{index=12}
- Write for Us — contributor & pay info. :contentReference[oaicite:13]{index=13}
- Codiga Blog — examples of tone & topics. :contentReference[oaicite:14]{index=14}
- Static Code Analysis — technical product page. :contentReference[oaicite:15]{index=15}
- Coding Assistant — snippet manager. :contentReference[oaicite:16]{index=16}
- Get Codiga for GitHub — install & setup. :contentReference[oaicite:17]{index=17}
- Codiga on GitHub — source, tools and docs. :contentReference[oaicite:18]{index=18}
- Codiga docs repo — docs & content source. :contentReference[oaicite:19]{index=19}
- How to Write a Good Blog Post — Codiga’s own tips for authors. :contentReference[oaicite:20]{index=20}
- About Codiga — team & mission. :contentReference[oaicite:21]{index=21}