10 Websites That Pay Up To $500+ For Content Writing.
Pay starting from $35 (for total beginners) to upto $500+. Websites are now ready to pay even if you are a beginner. You just net need to follow their guidelines while writing.
Website 1: Write Jokes(😀) and earn upto $300
Upto $350

Do you know this-website pays you to make people laugh?
Seriously! You can earn $25 for a short joke or up to $350 for a funny true story printed in their magazine. Here’s how to get started.
Steps to Start Earning:
1. Learn RD’s Style
Before submitting Visit RD.com and read their jokes and study what they actually publish. Their humour is clean, short, and family-friendly.
2. Write a Bunch (Not Just One!)
Don’t stop at one joke. Create a list of funny moments or one-liners. Aim to submit in batches because submitting multiple jokes means better chance to get accepted.
3. Edit & Test
Tighten the punchline. Read it aloud. If it makes someone laugh, you are close.
4. Submit It Properly
Use RD’s official Submit a Joke or Submit a Story form. And Include your name and contact info.
Tips to Boost Your Earnings
True stories = more money ($100–$350 for print acceptance).
International editions like RD Asia pay even higher.
Keep a joke journal — funny stuff happens daily.
Build your writing resume — RD is a respected name.
Click on “Submission Page” button to apply.
Click on “Submission Page” button to apply.
OFFER
Get 200+ websites list which pay you from $50 to $2000 per post
99X earning guides which helps you earn upto $2000/Post.
Click on “GET WRITING KIT” button now to get complete writing kit!
Website 2: Build list📃 and earn upto $100
Upto $350
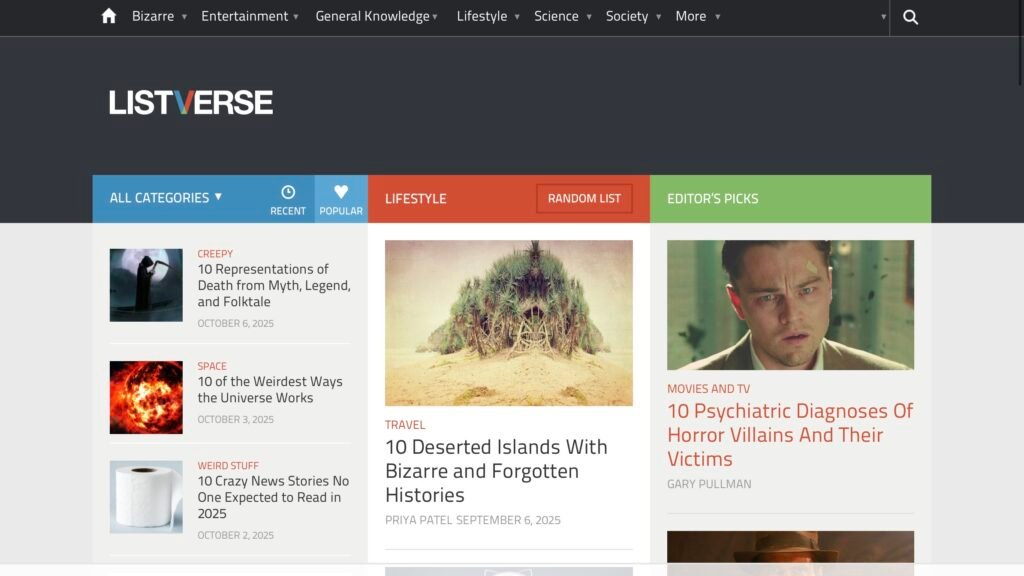
Want to earn $100 by writing about bizarre facts, weird history, or creepy mysteries? That’s exactly what Listverse offers through its Submit a List program.
If you can write in fluent English and live in the US, UK, Canada, Ireland, Australia, New Zealand, or South Africa, you’re eligible to submit. And if your list is accepted, you’ll get paid $100 via PayPal.
Steps to Start Earning:
1. Understand Their Style
Listverse wants quirky, surprising, and fun Top 10 lists — not advice or tech guides. Read examples on Listverse.com.
2. Pick a Unique Topic
Aim for topics like “10 Unsolved Mysteries from History” — not “10 Productivity Hacks.”
3. Do Proper Research
Use credible sources (not Wikipedia). Each of the 10 items should be backed by solid facts.
4. Write the List (1,500–2,000 words)
Include a short intro + 10 entries. Each item should be clear, engaging, and easy to follow.
5. Polish It Well
Your writing must be grammatically flawless and well-structured. They reject sloppy drafts.
6. Submit It Right
Upload your list using their submission form. Keep it simple — no images or videos.
Click on “Submission Page” button to apply.
Submit multiple lists to increase your chances
Avoid common topics; go for odd or lesser-known facts
Stick to their format (intro + 10 items)
Keep a copy of your work for records
Use your Listverse byline to pitch other paid outlets
Research successful past lists to understand what works.
Website 3: Write Poem 🎵 and earn money
Upto $350
Want your poetry published in a respected literary magazine — and get paid?
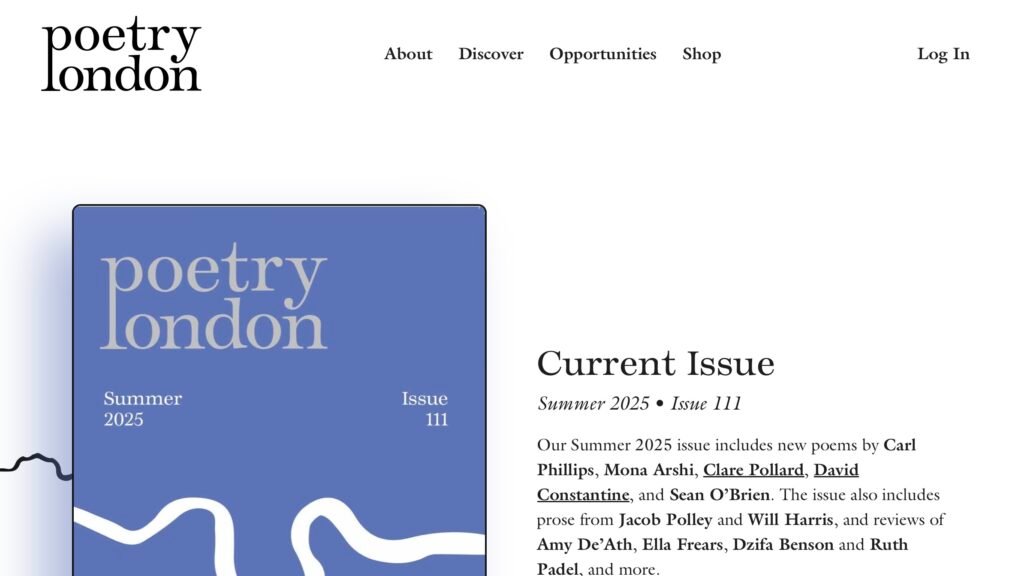
Poetry London
publishes three times a year (March, June, October) and accepts submissions from both new and established poets.
They welcome online submissions via Submittable and postal entries. You can submit up to six unpublished poems per submission.
What They Pay
Poetry London pays £35 per accepted poem (adjusted for very long ones). Payment is made within 30 days of publication, once you send an invoice. You also receive a free copy of the issue.
Steps to Start Earning:
1. Read the Magazine
Understand the voice, structure, and topics they prefer by reading past issues.
2. Select & Polish Poems
Pick your best 4–6 poems. Edit for imagery, grammar, and layout. They expect high quality.
3. Prepare Your File
Include all poems in one document with a short cover letter.
4. Submit Online or by Post
Use Submittable or mail with proper return postage.
5. Wait for a Response
It can take up to 3 months. If accepted, you’ll receive proofs to approve (respond within 10 days).
6. Invoice for Payment
Once published, send an invoice with poem titles and payment details.
Click on “Submission Page” button to apply.
Tips to Boost Your Chances
- Submit only unpublished work
- Polish grammar, layout, and line breaks
- Vary styles/themes — don’t send 6 similar poems
- Be patient — response time is slow
- Use your byline to pitch other publications
Website 4: Write coding 💻 blog posts
Upto $350
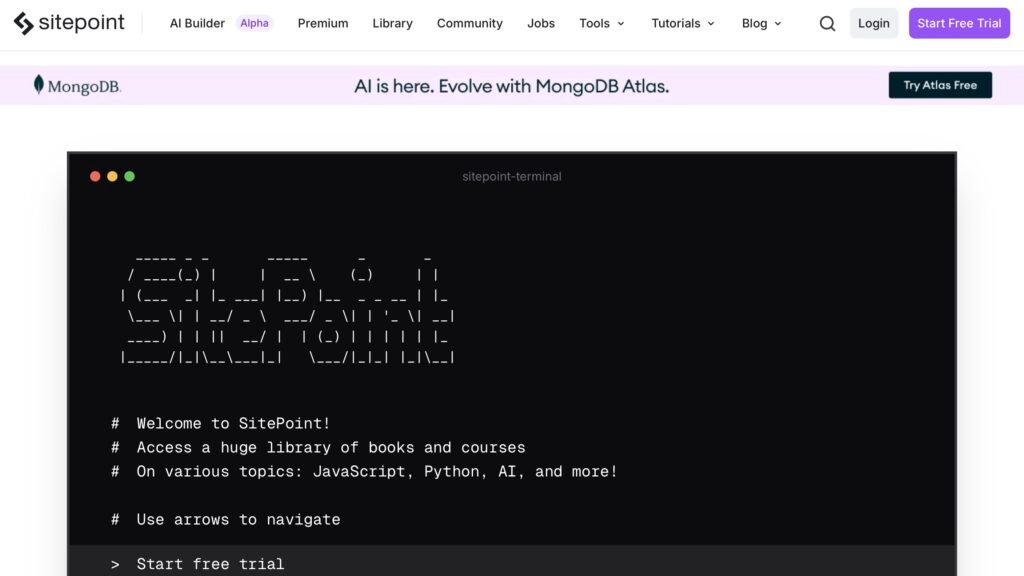
Are you good with web development, design tools, or front-end frameworks? Want to turn your tech skills into income? SitePoint’s Write for Us program is a fantastic place to start.
SitePoint is a respected platform in the developer world, publishing high-quality tutorials and articles on JavaScript, CSS, Python, UI/UX design, React, and more. And yes — they pay contributors for accepted pieces.
What SitePoint Pays
According to external sources, SitePoint pays:
💵 $150 for standard articles
💵 $200+ for tutorials or in-depth guides
Bonuses possible for high-traffic or standout content
They state, “We’ll pay you promptly on publication,” and you’ll also get editorial support to make your work shine.
Steps to Start Earning:
1. Read SitePoint Content
Study their articles to understand tone, code formatting, and how they explain complex topics simply.
2. Choose Your Strong Topic
Focus on what you know best — CSS tricks, performance tips, framework breakdowns, etc. Avoid generic topics unless you bring a fresh angle.
3. Pitch First, Don’t Write Yet
Before writing a full article, submit a short pitch: the topic, who it’s for, what value it brings. This saves time and helps editors guide you early.
4. Write with Clarity & Code
Once approved, write your piece using a clean structure — intro, main sections, and conclusion. Include code samples, demos, or images where useful.
5. Submit & Collaborate
Send your draft as instructed online. Editors may ask for changes — be flexible. They expect technical accuracy and clean writing.
6. Get Published & Paid
Once approved, your article goes live and you’ll be paid (usually via PayPal). Use this byline to land more gigs!
Click on “Submission Page” button to apply.
Tips to Boost Your Earnings
- 🎯 Pitch focused, unique topics (e.g. “Async JavaScript Beyond Promises”)
- 🧪 Back everything with working code, tests, or demos
- 🧹 Edit ruthlessly — grammar, clarity, structure
- 🔍 Avoid promotional tones or affiliate-style content
- 📁 Keep a portfolio: “Published on SitePoint” boosts your credibility
- 🌍 Clarify payment methods upfront if you’re outside PayPal-supported countries
Website 5: Write Journal 📝 and earn
Upto $350
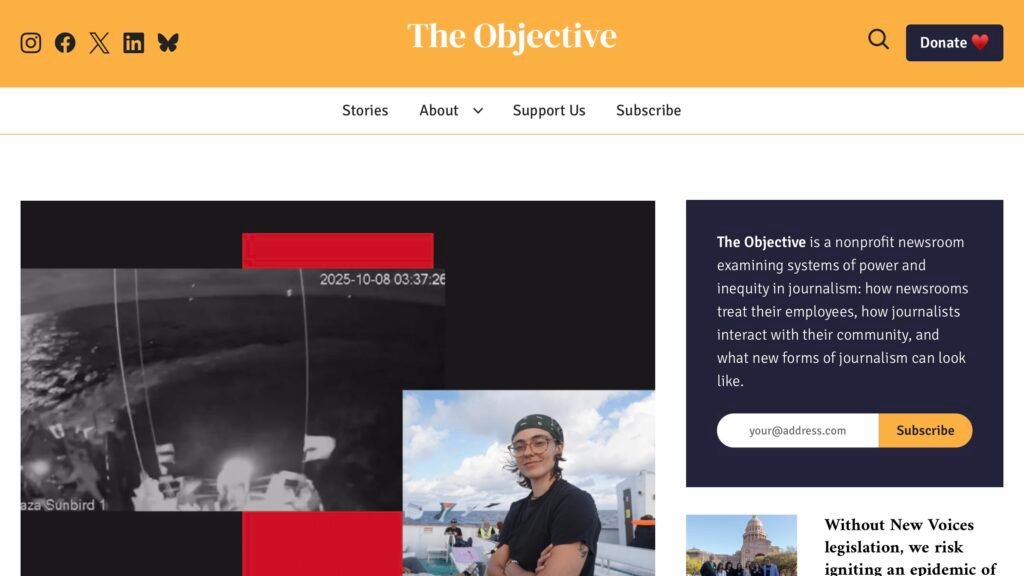
If you care about fairness in journalism and want to get paid to write impactful, media-critical stories, The Objective could be a perfect fit. They’re a nonprofit newsroom focused on media equity, newsroom accountability, and journalism reform — and they pay well for quality writing.
While many outlets underpay freelancers, The Objective offers $0.50 per word, which means a standard piece (800–1,500 words) can earn you $400 to $750 per article.
Steps to Start Earning:
1. Read Their Published Work
Visit theobjective. and read multiple stories. Focus on topics like newsroom culture, media criticism, equity in journalism, and systemic issues. Understand their voice and target audience.
2. Brainstorm a Mission-Aligned Idea
Think of story angles that expose power imbalances or amplify underrepresented perspectives in media. Avoid generic journalism news — they want stories that critique or challenge systems.
3. Write a Strong Pitch
In a few short paragraphs, explain your story idea:
What is it?
Why does it matter now?
Why is The Objective the right place for it?
Include a short bio and relevant writing clips.
Also mention any key sources, interviews, or data you plan to use.
4. Submit via Their Pitch Page or Email
Use their official Pitch Us form or email contact@objectivejournalism.org. They only accept pitches — don’t send full drafts.
5. Wait for a Reply
Give them at least one week before following up. They won’t reply to every pitch due to limited staff, but silence isn’t always rejection.
6. Write, Revise, and Get Paid
If accepted, you’ll write the full article and collaborate with an editor. Once published, you’ll be paid — $400–$750 depending on length and scope.
Tips to Boost Your Earnings
Pitch in their voice: Align closely with their mission and editorial tone
Target unique or underreported angles
Submit polished, clear, concise pitches
Use successful clips to pitch other outlets afterward
Track your pitches and follow up professionally
Click on “Submission Page” button to apply.
Click on “Submission Page” button to apply.
OFFER: Earn
$2000+
Per Post

Earn up to $2000/Post
Get 200+ websites list which pay you from $50 to $2000 per post
99X earning guides – helps you earn upto $2000/Post.
Click on “GET WRITING KIT” button now to get!
Earn up to $2000/Post
✅ Get 200+ websites list which pay – $50 to $2000 per post
+
✅ Get 99X earning guides which helps you earn upto $2000/Post.
Click on “GET WRITING KIT” button now to get complete writing kit!
Earn up to $2000/Post
✅ Get 200+ websites list That pay – $50 to $2000 per post
Get 200+ websites list Paying – $50 to $2000 per post
Save
+
✅ Get 99X earning guides which helps you earn upto $2000/Post.
Click on “GET WRITING KIT” button now to get complete writing kit!
OFFER: Earn
$2000+
Per Post
Earn up to $2000/Post
Get 200+ websites list – Paying – $50 to $2000 per postEarn up to $2000/Post
✅ Get 200+ websites list which pay – $50 to $2000 per post
+
✅ Get 99X earning guides which helps you earn upto $2000/Post.
Click on “GET WRITING KIT” button now to get complete writing kit!
Earn up to $2000/Post
✅ Get 200+ websites list That pay – $50 to $2000 per post
Get 200+ websites list Paying – $50 to $2000 per post
Save
+
✅ Get 99X earning guides which helps you earn upto $2000/Post.
Click on “GET WRITING KIT” button now to get complete writing kit!
Website 6: Write poetry fictional non fictional journal 👌
Upto $350

The Sunlight Press is a nonprofit online journal that pays for original creative work — including essays, fiction, poetry, reviews, photography, and artist-on-craft pieces.
They’re open to both new and experienced writers and pay for accepted submissions.
Steps to Start Earning:
1. Read What They Publish
Check thesunlightpress.com to understand their tone and themes.
2. Confirm Submissions Are Open
Genres close after reaching a cap — especially poetry. Always check their Submit page first.
3. Pick One Genre and One Piece
Submit one piece only (fiction, nonfiction, review, or up to 3 poems/photos). You can send both writing and photography together.
4. Follow the Word Count Rules
📘 Fiction: Up to 2,000 words
📝 Essays/Reviews: 750–1,000 words
✍️ Poetry: Up to 3 poems
📷 Photos: 3 unfiltered JPEGs
5. Submit by Email
Send a Word doc (no name inside file) to thesunlightpress@gmail.com. Add a short bio and your contact info in the email.
6. Wait Patiently
Responses may take up to 4 months. Don’t follow up too early.
7. Payment via PayPal
$50 for fiction, essays, reviews, artist essays
$35 for first poem, $10 per additional poem
$20 per photo
Tips to Boost Your Earnings
Submit early when genres reopen
Match their style: reflective, clean, creative
Carefully follow formatting rules
Use published work to pitch other outlets
Keep writing and submitting consistently
Click on “Submission Page” to apply.
Click on “Submission Page” button to apply.
Website 7: Write and connect with writes note
Upto $350
WritersWeekly pays $60 for original feature articles or Marketing Secrets pieces that teach writers how to earn money. No poetry, book reviews, or generic “how to write” advice allowed.
They only accept pitches, not full articles (unless requested). Your idea must be specific, monetizable, and fresh — vague pitches like “I want to write for you” are rejected.
Quick Steps to Get Published
Read WritersWeekly.com
Check their archives for voice, style, and what they’ve recently covered.Brainstorm a strong angle
Focus on the business of writing — selling, marketing, income streams.Send a query
Include a proposed title, 2–3 sentence summary, and a short bio. Send it in the body of an email (no attachments).Wait for a reply (≈1 week)
If they accept, you’ll write a ~600-word article.Get paid via PayPal
You’ll be paid $60 USD on acceptance ($30 for reprints).
Tips to Boost Earnings
Avoid banned topics (e.g., SEO, writer’s block)
Be concise and professional in your pitch
Use accepted clips to build your writing portfolio
Start small, pitch smart — and get paid to help other writers thrive.
Click on “Submission Page” button to Apply.
Click on “Submission Page” button to apply.
Website 8: Fiction🌠.
Upto $350
Flash Fiction Online is a respected digital magazine that publishes short stories between 500 and 1,000 words. If you’ve got a compact, emotionally rich story with a clear beginning, middle, and end — you could earn $100 per accepted piece.
They accept a wide range of genres: literary, fantasy, sci-fi, horror, historical, and slipstream. But there’s a catch — your story must be narratively complete, not just a scene or a character sketch.
Steps to Start Earning
1. Read What They Publish
Visit flashfictiononline.com and read their top stories. Notice how each one tells a full story with emotion, character change, and a satisfying resolution — all within 1,000 words.
2. Draft a Strong, Complete Story
Avoid “slice-of-life” vignettes, overly topical ideas, or “writer writing about writing” clichés. They want real arcs — stories that move and stick with readers.
3. Format Your Manuscript
Use Word (or equivalent)
Double-spaced, 12 pt font
No name or identifying info in the file or file name
4. Submit via Submittable (Not Email)
Submit during their open call using the Submittable platform. One story per submission cycle.
5. Wait Patiently
They may take several weeks to respond. If your story sits in “In Progress” too long, you can follow up with a “QUERY” email (check their guidelines first).
6. Get Paid if Accepted
If your story is accepted, you’ll receive $100 USD for first electronic rights. They pay upon publication.
7. Build Your Portfolio
Published work on Flash Fiction Online boosts your credibility. Use your byline to apply to other literary markets and contests.
Tips to Boost Your Earnings
Cut the fluff: Every word counts in flash fiction.
Aim for emotion: A twist or character change packs power.
Stay within word limits: 500–1,000 words is strict.
Follow all formatting rules or risk auto-rejection.
No AI content allowed — stories suspected to be generated by bots are declined.
Click on “Submission Page” to apply.
Click on “Submission Page” button to apply.
Website 9: How To Instruction Post🔌
Upto $350
They accept occasional contributors for a $50 bounty per article, and if you impress them, you may land a recurring paid writing slot.
✅ Steps to Start Earning
1. Read Insteading’s Existing Posts
Head over to insteading.com and browse their guides, DIYs, and homestead stories. Look closely at the structure, use of images, and “show, don’t tell” writing style.
2. Choose a Relevant Topic
Stick to what they love:
-
🛠️ How-to guides
-
🌿 Intro to [topic] posts
-
📚 Resource lists
-
🏡 Personal stories with value (not just a diary entry)
Make sure it’s something you’ve experienced — they dislike content on things you haven’t actually done.
3. Fill Out the Writer Application
Before writing, visit their Write for Us page and fill out the Writer Application Form. Introduce yourself, pitch your idea, and include links to previous work if you have any.
4. Write the Full Article (If Approved)
Stick to:
📝 Length: 1,000–2,000+ words
📸 Images: Original photos preferred, or properly credited Creative Commons
📚 Style: Short paragraphs (2–4 sentences), subheadings (H2/H3), links to quality sources
Avoid fluff. Show real experience. Add visuals if you can.
5. Submit via Their System
Don’t skip steps — submit as instructed in their guidelines. Articles with sloppy formatting or no images will likely get ignored.
6. Revise if Needed
If the editors ask for changes, be prompt and professional. It’s a good sign they’re interested!
7. Get Paid
Once your article is accepted, you’ll be paid $50 (typically via PayPal). You also get a byline and a portfolio boost.
💡 Tips to Boost Your Earnings
-
📷 Include real photos — they make your pitch stronger
-
🧠 Choose practical topics: DIY, seasonal tasks, urban homesteading
-
📌 Use your byline to pitch other platforms
-
🔄 Reapply and build trust to land ongoing paid contributor slots
Click on “Submission Page” button to apply.
Website 10: Money Making Ideas U know ⚡️
Upto $350
And yes — they pay, offering $30 to $150 per accepted article.
✅ Steps to Start Earning
1. Read Their Articles & Guidelines
Visit moneypantry.com and read their recent blog posts. Also, check the “Contribute” page and editorial guidelines to understand their voice: conversational, blog-style, and reader-focused.
2. Pick a Specific, Practical Topic
Choose a topic related to:
-
💰 Making money (e.g. apps, gigs, hustles)
-
🛒 Saving money (on food, bills, travel)
-
📈 Side income or unique money ideas
They love real-life examples and step-by-step tips. Avoid generic finance advice or promotional content.
3. Draft Your Article or Pitch First
Write in a friendly, helpful tone — like talking to a friend. Your post should:
-
Be 700–2,000+ words
-
Include an intro and a clear takeaway/summary
-
Use subheadings, examples, and links to credible sources
-
Link to relevant posts on MoneyPantry when it makes sense
They accept complete articles or pitches.
4. Include a Short Bio
At the bottom, add 1–2 lines about yourself. You can include one link to your site — but no promotional content or affiliate links in the article.
5. Submit Your Article
Email your submission as directed on their Contribute page. Make sure your article:
-
Is unique and unpublished
-
Is formatted clearly (no messy text or broken links)
-
Includes your PayPal email for payment
6. Wait for Review
MoneyPantry’s founder personally reviews all content. Expect editing suggestions or questions before acceptance.
7. Get Paid
Once accepted, they pay $30–$150 via PayPal, depending on article length, usefulness, and quality.
💡 Tips to Boost Your Earnings
-
Share real experiences — they love authentic stories
-
Include data, screenshots, or links to build credibility
-
Match their friendly tone and practical style
-
Avoid fluff — focus on what the reader can actually do
-
Use the byline in your writing portfolio to land other paid gigs
Click on “Submission Page” button to apply.